Video Editing and Live streaming
CapCut, Filmora, and OBS Studio tips
CapCut is highly recommended for beginners offering free functions like voice-overs, speech-to-text, auto-captions.
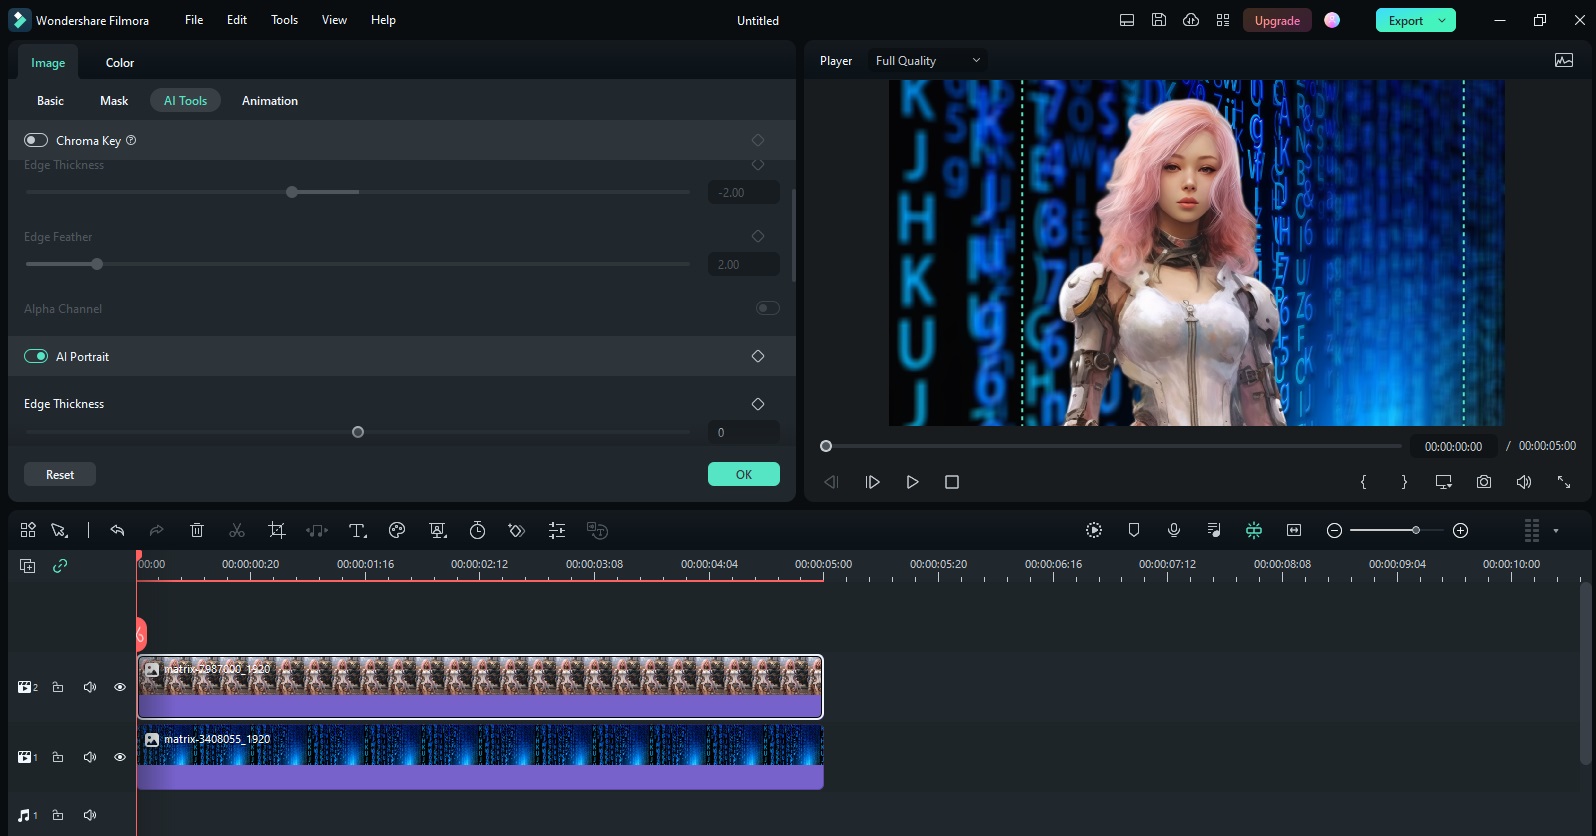
Filmora has a very affordable price and stands out with quality functions such as video effects, AI tools, animations.
OBS Studio can be linked to YouTube to extend its live streaming capabilities like Multi-Screen Recording.
Video editing involves several steps such as capturing footage, importing it into an editing software, making necessary edits, adding effects, and exporting the final product. In this tutorial, we'll cover the basics using CapCut, Filmora, and OBS Studio.
Capturing Footage with OBS Studio:
OBS Studio is primarily used for recording or live streaming. To capture footage:Download and install OBS Studio from the official website.
Open OBS Studio and set up your scene by adding sources (webcam, display capture, etc.).
Start recording by "Start Recording" in the controls.
Importing Footage into CapCut and Filmora:
Once you've recorded your footage, save it to your computer.Open CapCut or Filmora.
Import your recorded footage into the software:
You can also import media from other sources. Be careful to use your own media or free sources to avoid copyright claims. The best free sources are pixabay.com and pexels.com
CapCut and Filmora have their own recording tools as well.
In CapCut, tap on the "+" icon to import videos.
In Filmora, go to "Import Media Files" and select your recorded video.
Basic Editing in CapCut and Filmora
Both CapCut and Filmora offer various editing features such as trimming, splitting, adding transitions, text, effects, and more.Trim and split your footage to remove unwanted parts:
In CapCut, drag the edges of the video clip to trim or use the "Split" tool to cut it.
In Filmora, drag the handles or use the scissor tool to split and remove unwanted sections.
Adding Effects and Enhancements
Enhance your video with effects, filters, transitions, and text overlays:CapCut offers a variety of filters, effects, and text options. Apply them by selecting the desired clip and tapping on the desired effect.
Filmora provides numerous effects, transitions, and text options. Drag and drop them onto the timeline to apply.
Exporting the Edited Video:
After completing your edits, it's time to export the final video:In CapCut, tap the export button and select the desired resolution and quality. Then tap "Export" to save the video.
In Filmora, go to "Export" and choose the export settings (resolution, format, etc.) and save your video.
Tips for Smooth Editing:
Organize your footage: Keep your files organized to easily locate clips.Use keyboard shortcuts: Learn shortcuts for faster editing.
Experiment with effects: Explore different effects to enhance your video creatively.
Save your work frequently: Avoid losing progress by saving your project regularly.
Additional Resources and Learning:
CapCut and Filmora have extensive tutorials and community forums to learn advanced editing techniques.YouTube and online courses offer in-depth tutorials on video editing using these software.
Practice and experiment
Video editing with CapCut, Filmora, and OBS Studio allows you to create engaging and professional-looking videos. Practice and experiment with various features to improve your editing skills.Remember, proficiency comes with practice, so don't hesitate to explore and experiment with these tools to unleash your creativity!
Free Toolbox
Home